大家好,我们是seu120队,队伍编号是CICC1518,此次分享芯来hello world例程,并维护芯来的文档,有少些内容需要修改。
https:
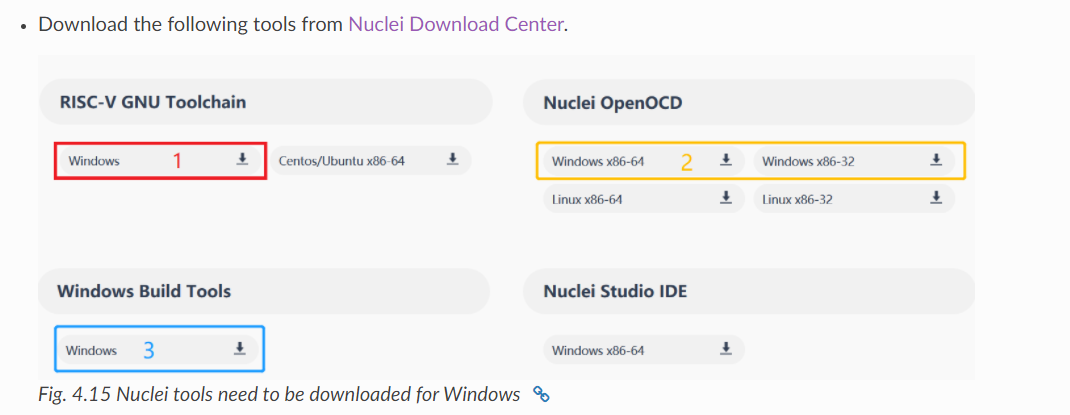
并新建几个文件夹,gcc存放图中1的解压,openocd存放2的解压,build-tools存放3的解压,hbirdSdk来自github,可以前往https://github.com/riscv-mcu/hbird-sdk 下载压缩包,并解压。
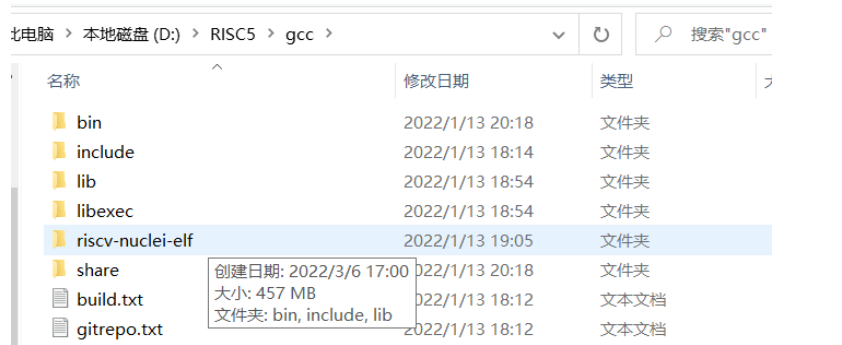
要注意的是,gcc子目录即是下面的内容,解压可能会产生额外的子目录,请把文件移至gcc子目录下。后面的batch脚本要求如此,不这样做得修改脚本适配。
必要得文件下载后,新建setup_config.bat文件,也是脚本要求,若想了解可以查看setup.bat内容。

向setup.config添加下面得内容,也就是设置工具链的根目录,即gcc的上级目录。

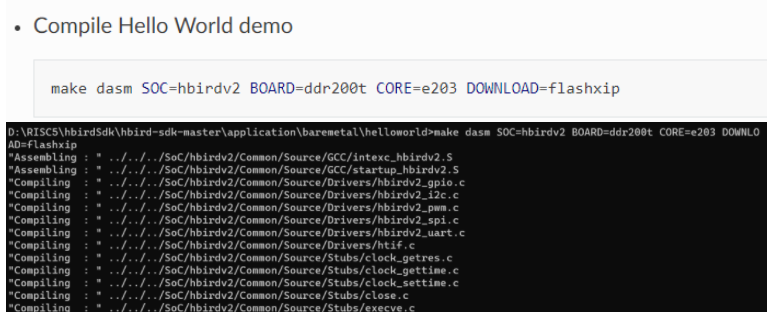
然后根据图片执行下面的命令,芯来的文档还没更新。。。使用的是cmd.exe,即命令行提示符

查看环境变量,可以看到已经添加了路径,有点像linux,都是告诉系统去哪找文件
下载驱动,板子和电脑连接后,驱动正常的时候,查看设备管理器发现增加了一个com4,数字可能不一样,说明驱动正常。
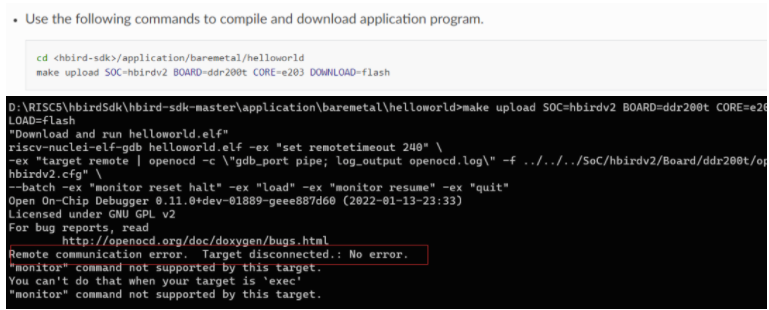
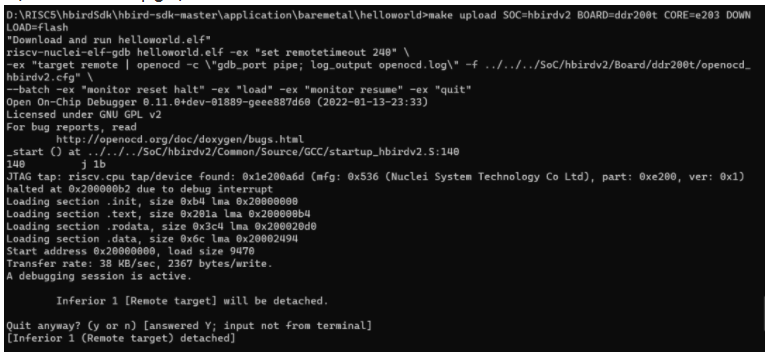
该错误,是连接问题。在前面我们完成了.mcs的烧写,但好像要重启一下才生效(刚接触xlinx fpga),于是烧写.bit文件,重新执行,这是正确的下载界面。
最后,我们可以使用一款串口调试助手,查看printf的结果